This hand embroidery dandelion tutorial came together over two focused weeks of trial and error. The process was full of both achievements and setbacks. If you’re not familiar with hand embroidery, it can be hard to imagine how many hours go into practicing stitches, testing ideas, and starting over. I spent countless hours refining this design until it finally felt complete. Now, it’s ready to share.
Hand Embroidery Dandelion Tutorial
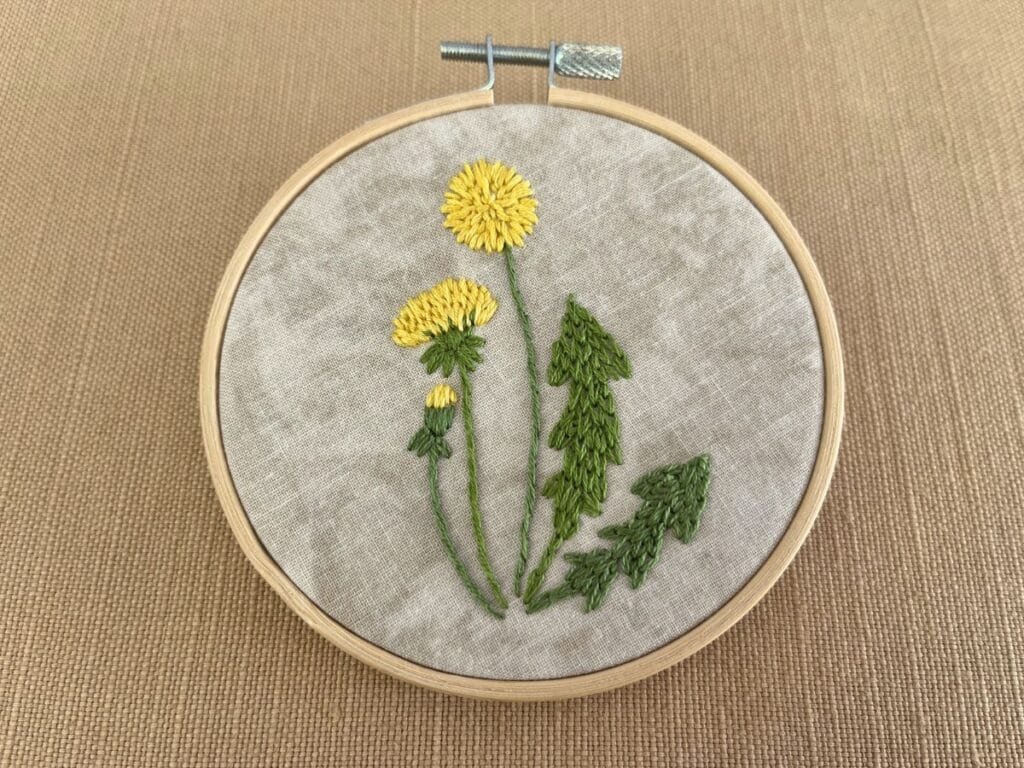
In the video, I guide you through stitching the entire dandelion pattern from start to finish. The stitches are simple and beginner-friendly, including stem stitch, lazy daisy, satin stitch, straight stitch, and chain stitch. I kept the color palette minimal with just three DMC floss colors: Light Topaz Yellow (726), Light Avocado Green (470), and Medium Yellow Green (3347)
Free PDF Pattern Details
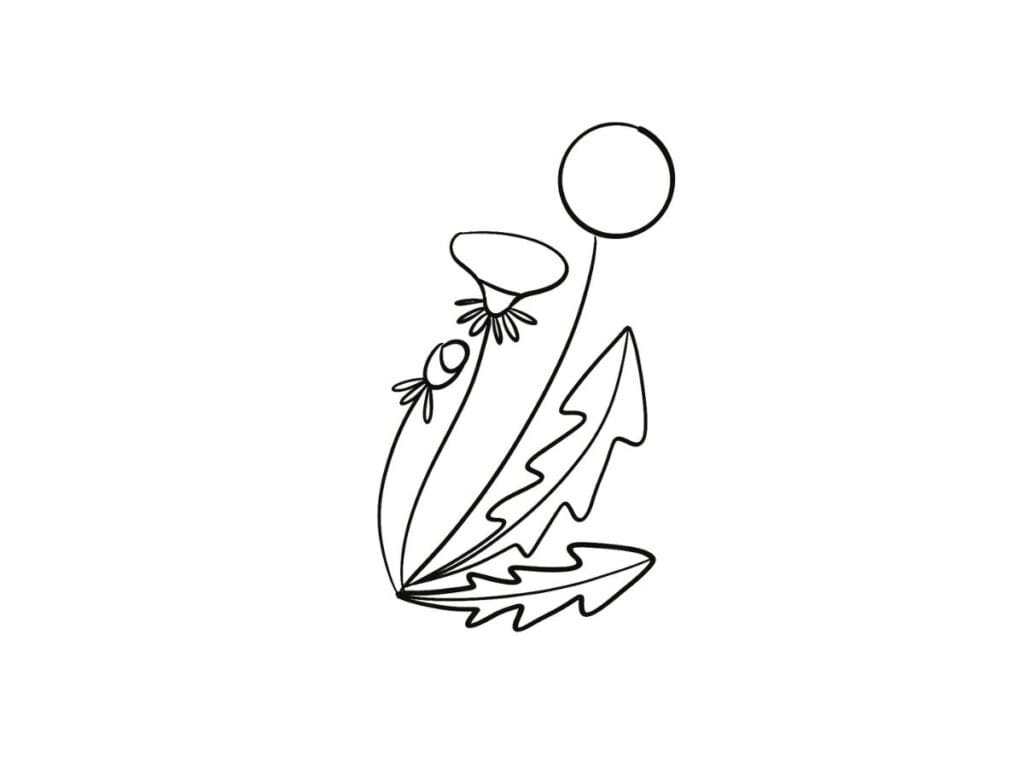
The PDF pattern is free to download and is designed to fit a 4” hoop. You can also resize it to suit your project. This makes the pattern easy to adapt to your own style or any project you have in mind.
Returning to the Basics
Originally, I planned this design with more advanced, realistic techniques. Over time, I realized I wanted to focus on faster, simpler methods while I gained experience. I decided to make the design beginner-friendly and quick to stitch. I spent a lot of time experimenting with ideas that didn’t make it into the final piece, and each one taught me something new. This pattern reflects that learning process, and I hope you enjoy stitching it as much as I enjoyed creating it.
Finishing and Displaying Your Work
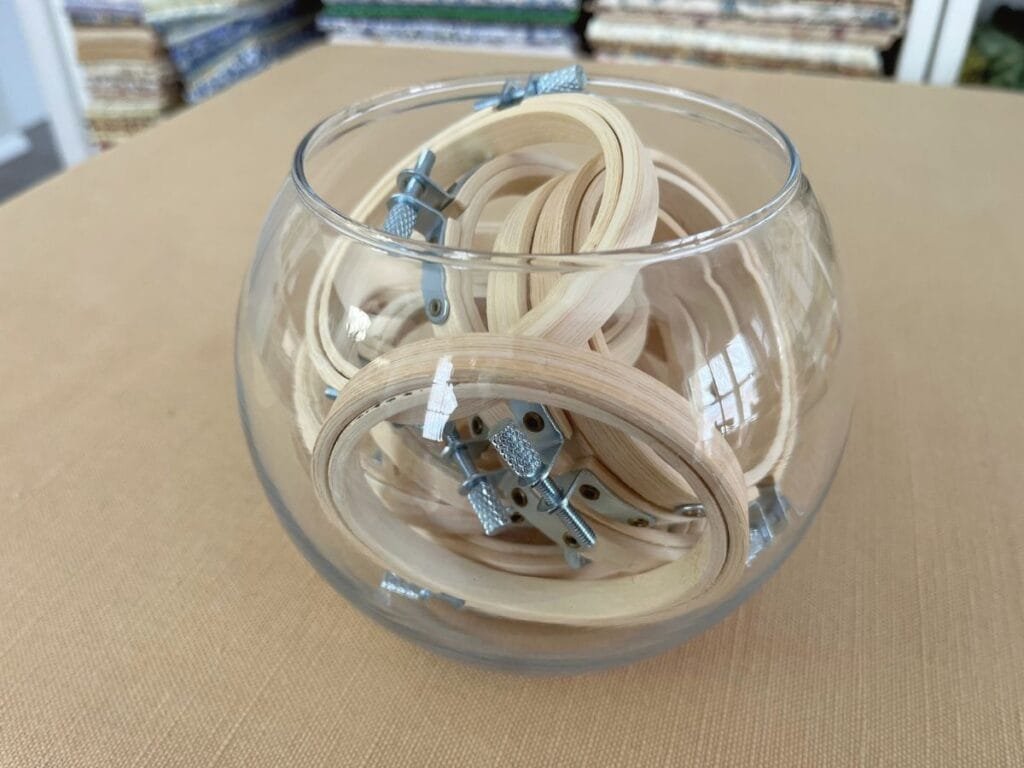
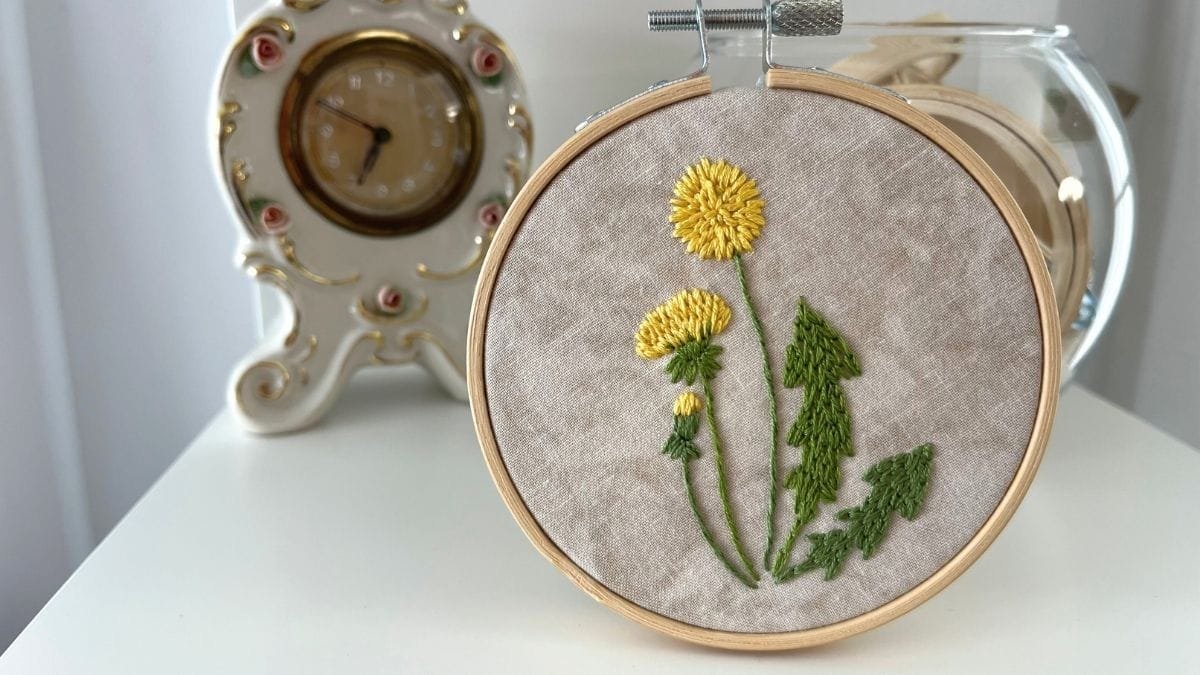
I keep a collection of 4” hoops on hand, and many finished projects stay right in their hoops. Displaying embroidery this way is simple and stylish. It has become my go-to method while I slowly collect frames from thrift shops.