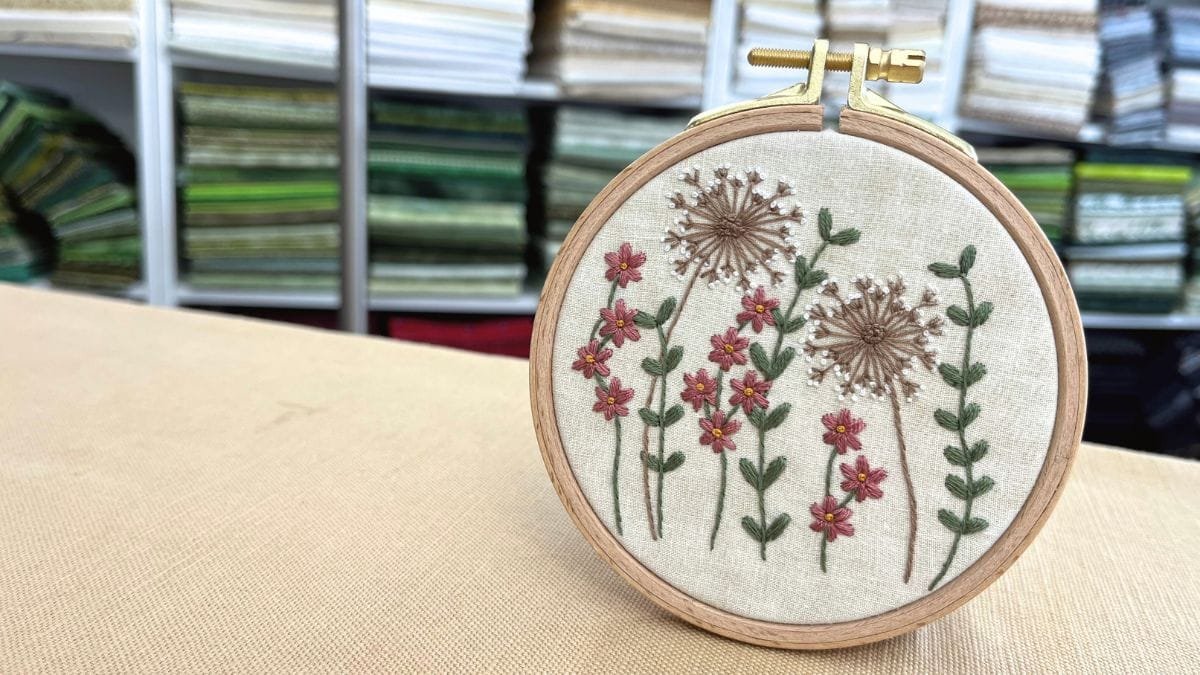
Free Wildflowers Hand Embroidery Pattern and Tutorial for Beginners
Welcome to my Whimsical Wildflowers hand embroidery video tutorial and free traceable PDF pattern. This is a beginner-friendly project using just four essential hand embroidery stitches and five DMC floss colors. It’s simple, fun, and perfect for anyone new to embroidery who wants a small beginner embroidery project. The pattern is playful and the flowers…
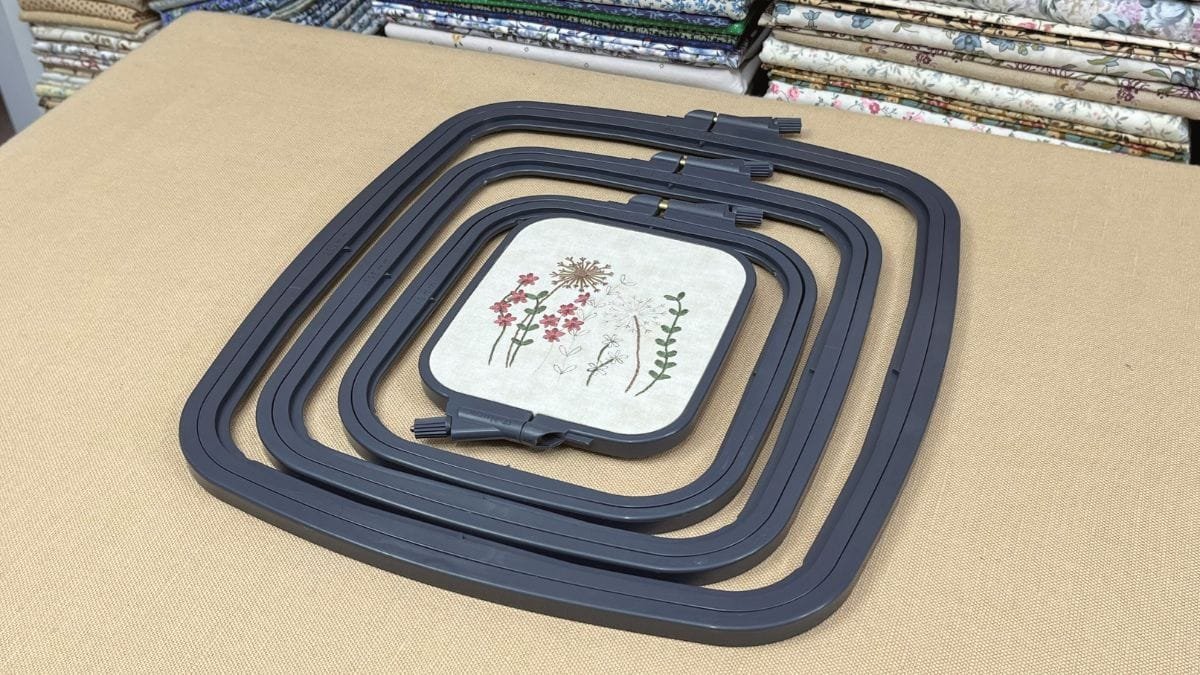
I Love My New Rectangular Plastic Nurge Hoop
Choosing a hoop can totally change how a project feels. A good hoop keeps your fabric steady, supports your stitches, and just makes the whole thing easier. One hoop I’ve recently fallen in love with is the Rectangular Plastic Nurge Hoop. It’s simple, but it does what it needs to do. It’s not trying to…
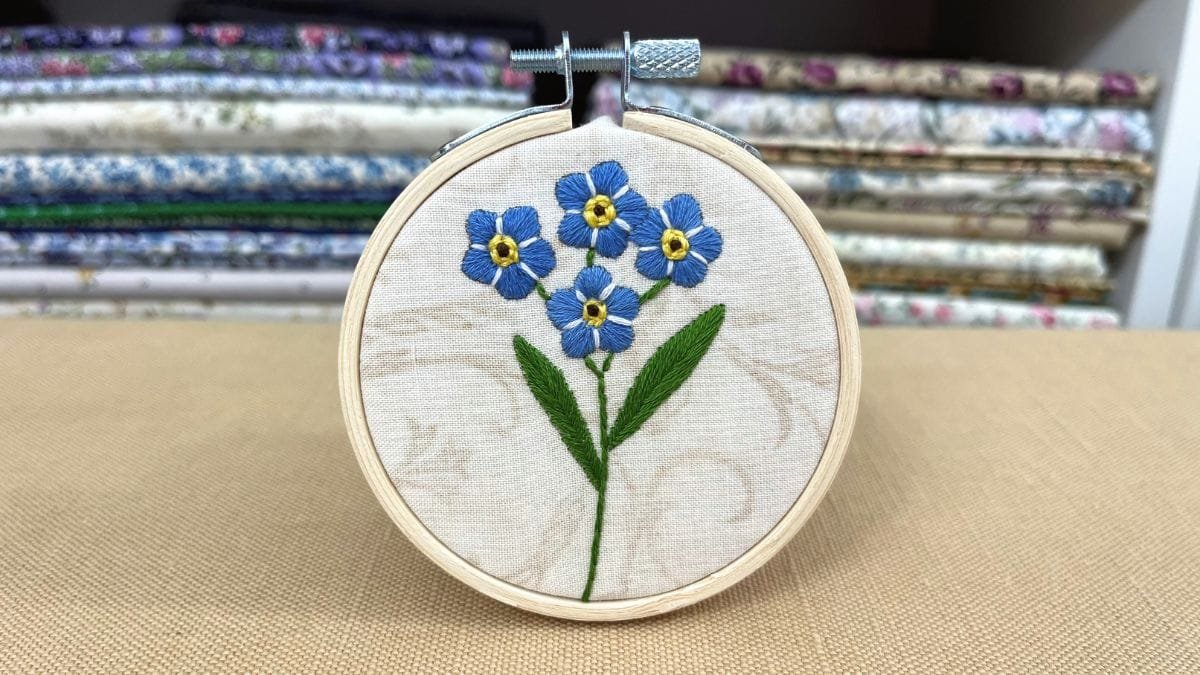
Forget Me Nots Hand Embroidery Tutorial and Free Pattern
Working on the Forget Me Nots hand embroidery pattern has reminded me of the value of slow, mindful stitching. This pattern is perfect for beginners, offering a gradual introduction to hand embroidery without pressure. Each stitch becomes a small, grounding act, helping me focus on the present moment while soothing anxiety and stress. Hand embroidery…
Easy Embroidery Flowers Stitched in Blue and White
These easy embroidery flowers are perfect for beginners. In a small hoop, you can stitch three simple blue and white flowers that are quick, relaxing, and satisfying to complete. Also, quick projects like these are great for practicing stitches, experimenting with color, or creating a small handmade gift. Blue and white are classic colors that…
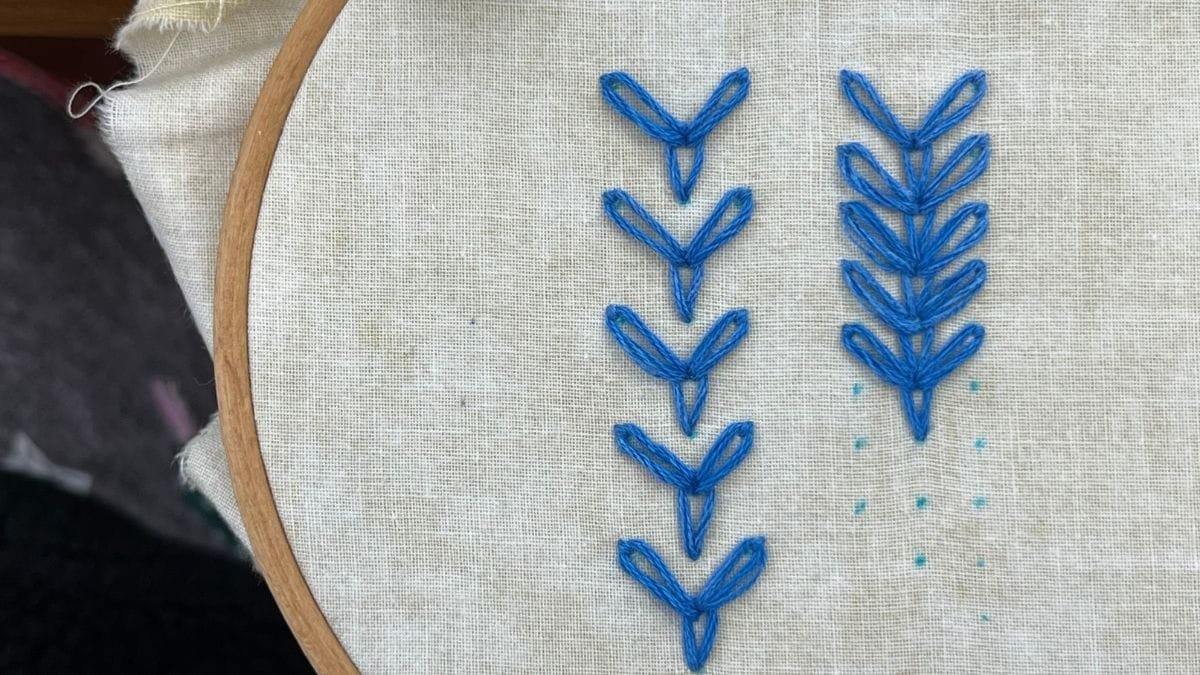
The Russian Chain Stitch is Great for Embroidery Borders
Hello folks, it’s Francesca Jane Gonzalez! On chilly winter days in upstate New York, I stay inside with my embroidery. I don’t do well in the cold because of Raynaud’s syndrome, so my hands are happiest indoors with fabric and thread. Lately, I’ve been practicing the Russian chain stitch, a stitch that’s fun and versatile…
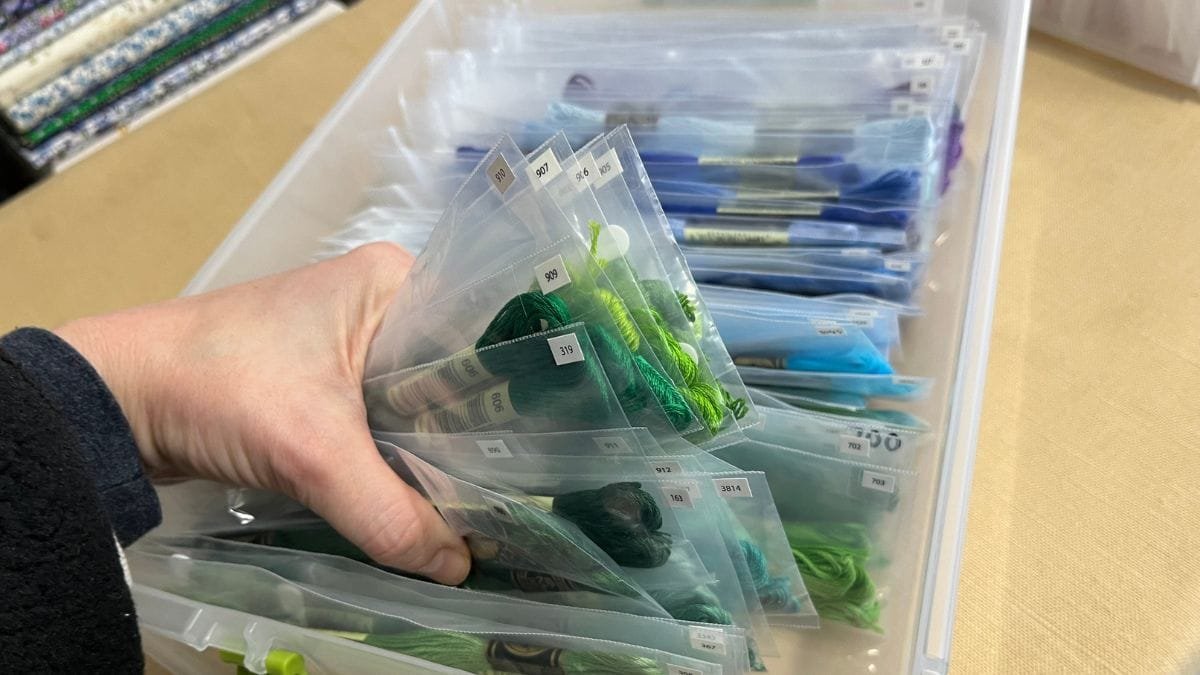
New Embroidery Floss Organization by Color & Quantity
A Change I’m Making Right Now Embroidery Floss Organization has always been the hardest part of managing my embroidery supplies. Over the years, I’ve tried many methods, but with so many colors, the collection can feel overwhelming very quickly. At first, organizing by number felt like the smartest option. For example, most embroidery patterns rely…
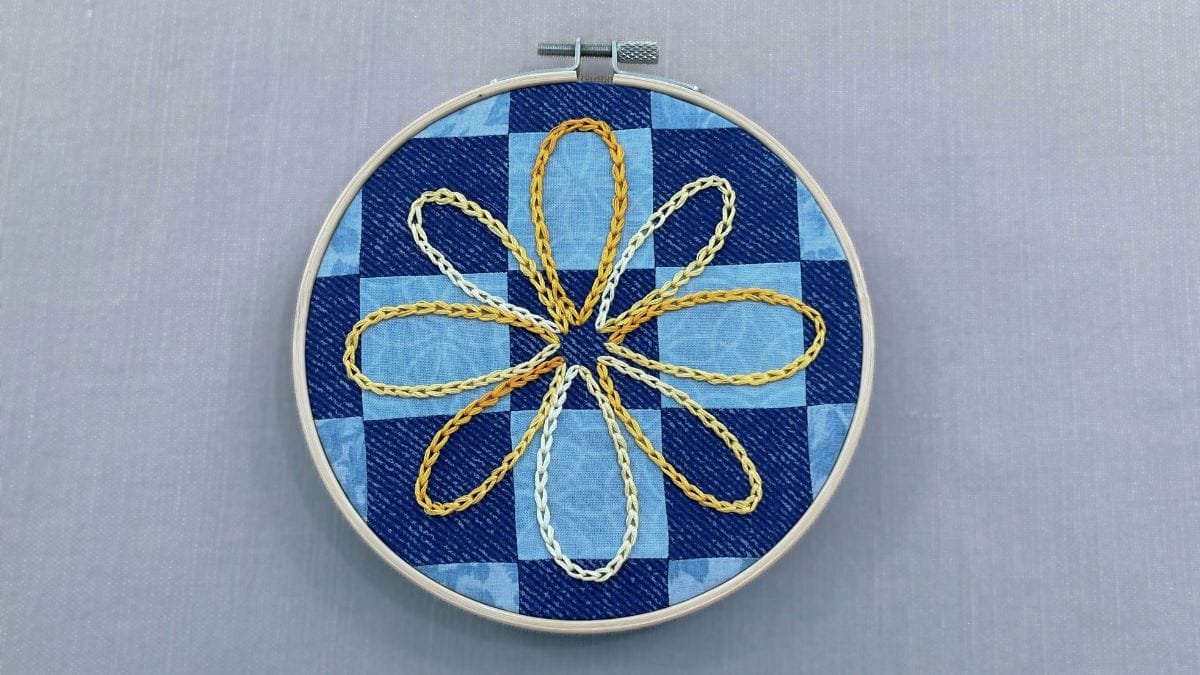
Quick Chain Stitch Flower on a Patchwork Quilt Block
This project began as a simple experiment with a chain stitch flower, but it quickly became something more meaningful. I stitched a bold flower design onto a pieced quilt block and discovered how well hand embroidery and patchwork work together. Combining these two crafts feels like opening a new creative door, and I’m excited to…
A Hand Embroidered Heart Ornament Inspired by Winter Stitching
This hand embroidered heart ornament started as a small winter project. I simply wanted to turn an embroidery design into something I could hold and enjoy. And each stitch became part of a little keepsake that now feels warm and special. Embroidery can go beyond the hoop. In fact, when a stitched piece becomes an…
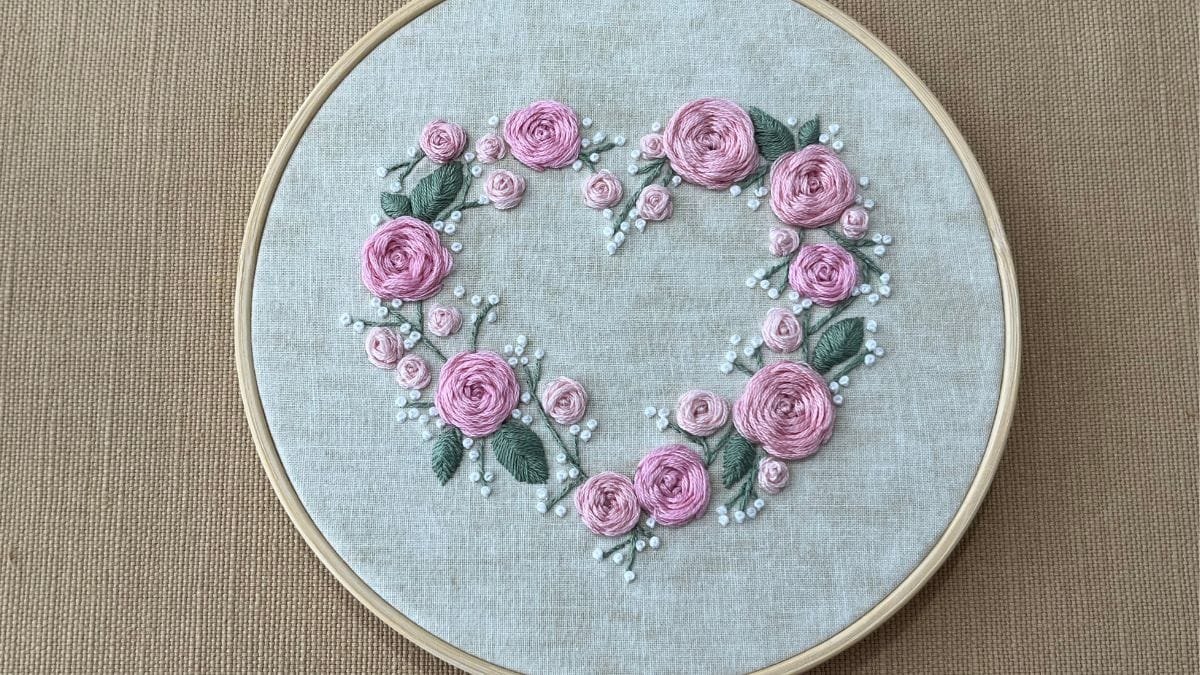
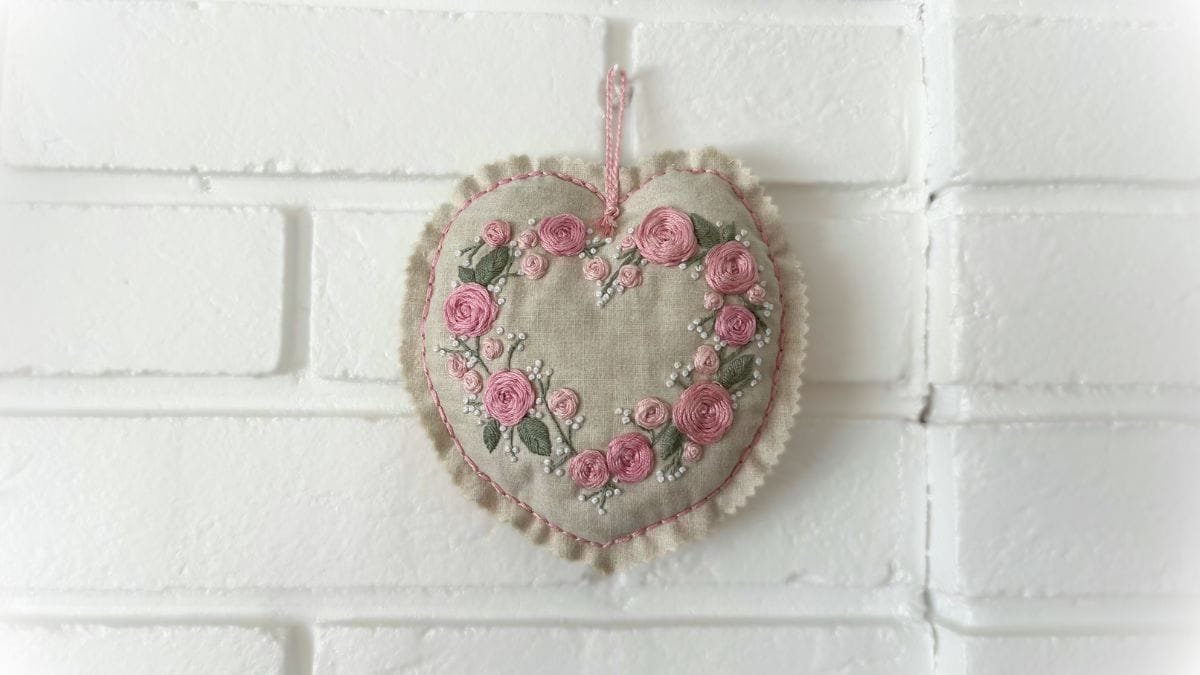
Easy Woven Rose Heart Embroidery Pattern
It’s been a very cold and snowy week here in upstate New York. I’ve spent a lot of time inside working on this woven rose heart embroidery pattern, just in time for Valentine’s Day. I wanted to give you something fun and creative to stitch during the winter season. Even though it feels perfect for…
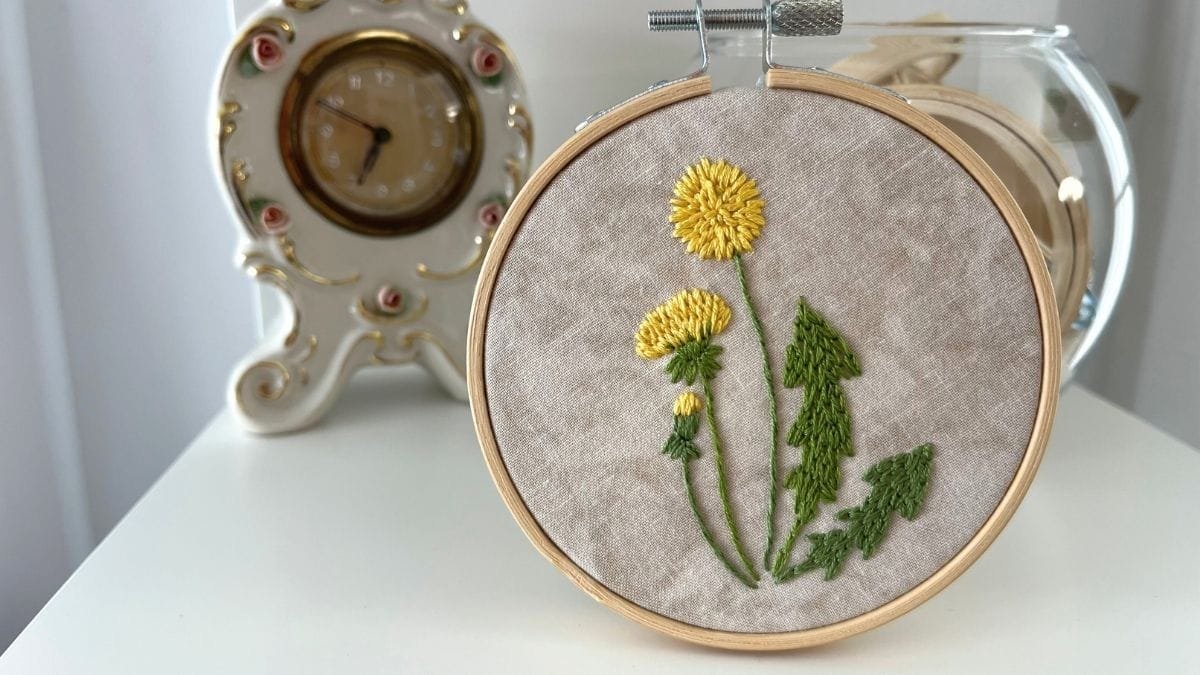
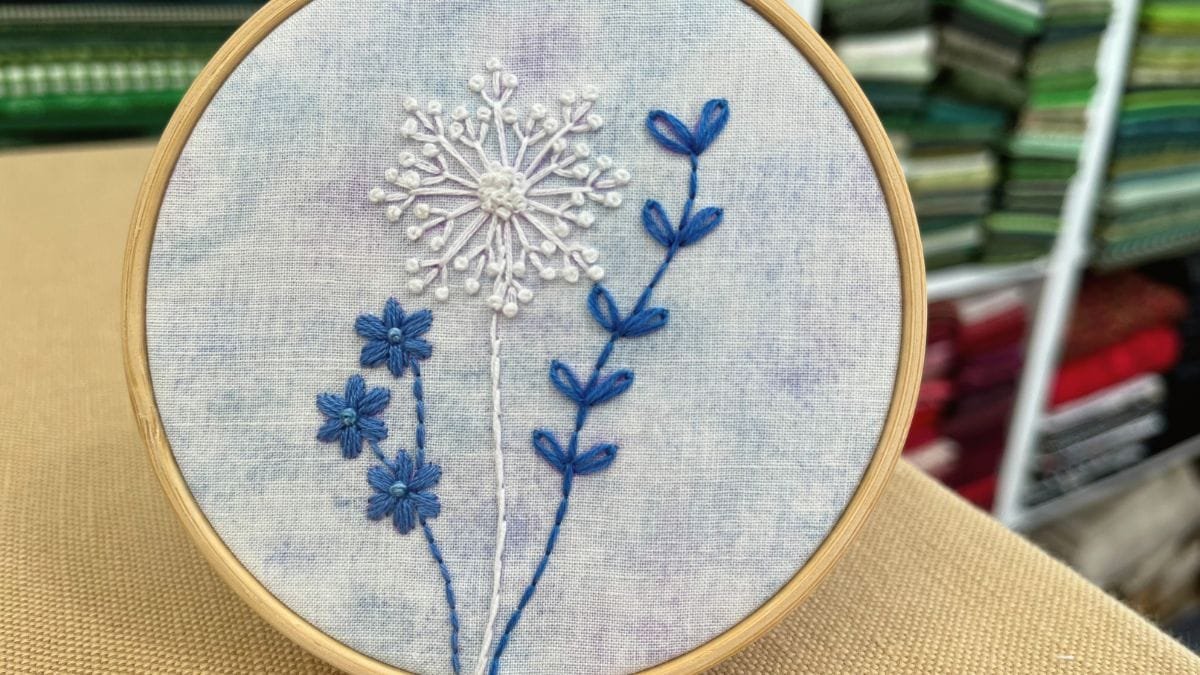
Easy Hand Embroidery Dandelion Tutorial in a 4 Inch Hoop
This hand embroidery dandelion tutorial came together over two focused weeks of trial and error. The process was full of both achievements and setbacks. If you’re not familiar with hand embroidery, it can be hard to imagine how many hours go into practicing stitches, testing ideas, and starting over. I spent countless hours refining this…